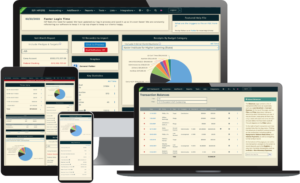
ActBlue settings are found in the Integrations menu, under ActBlue, after the Integration has been enabled. (How do I set up an ActBlue integration?)
ActBlue Entities
If you have more than one ActBlue account and need to set up a second integration in the same ISP account, you can enter additional ActBlue Entity IDs in the ActBlue Entities section.
Click the green + button to open the Add ActBlue Entity ID dialog. There, you can specify the Financial Account, Budget Category, and Election applied to transactions imported from that ActBlue entity. Unique settings can be applied to each account.
ActBlue transactions can also have Auto Import settings under Tools ? ai@ISP. When settings are selected in both locations, the settings under Integrations ? ActBlue take priority. To change the Financial Account, Budget Category, or Election used for future ActBlue transactions, update the ActBlue Entity settings on this page.
Customize Budget Categories
The Customize Budget Category section allows you to determine which Budget Category is applied to a donation no matter the form that is used. You can use a Budget Category already in your database, or you can select the Create Children option to create new budget categories that match the values we get from ActBlue. This allows for the use of the ActBlue as the main budget category, while still getting some nuance of different ActBlue Pages.
Per Form Categories
If you have multiple forms, you can use the Per Form Categories section to set a different Budget Category for each form, if you prefer.
Please note that the settings here will override any Auto-Import AI settings for the Quick Import section.