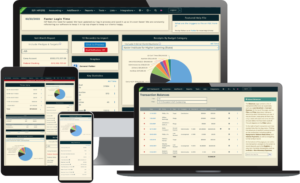
Handling multiple check requests for various expenses can be difficult to manage. Fortunately, all the requests you receive can now be received and processed in one place in ISP.
To install this tool, first select Add/Remove Tools under the Tools tab. Next, on the Tools page, type Check in the search bar. Then, click the Check Requests section header that appears under the word Available.
If the feature has not been enabled yet, you’ll first see a message welcoming you to the feature and also providing an email address you can share with others. This will allow them to send the check request directly to the system instead of your email inbox.
The format of the email address will be [account name]@checkrequest.ISPolitical.com.
Once you’ve copied down the email address, click the Enable button at the bottom of the screen. Doing so will allow requests to be received and processed.
When you receive a request for a check, you’ll see the request on the Check Requests screen, which will include the date of the request, who the request is from, and the text of their email.
At the bottom of the screen, you’ll see three options:
Reject: This option allows you to reject the request, as well as provide a reason for the rejection. Also, the individual who requested the check will receive an email notification that the check request was rejected and also see the reason why.
Skip For Now: This option allows you to skip the request and move on to the next request if more time is needed to consider the request.
Create Expense: This option will direct you immediately to the Add Transaction screen, where you can add the expense details, after which you’ll be able to print the check and move forward. Furthermore, the individual who requested the check will also receive an email stating the request was accepted and a check is being processed.


