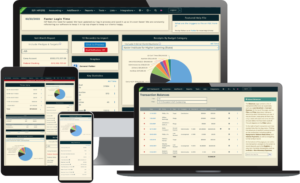
First, export a list of donations via a Financial Transactions Report.
1. On the Financial Reports page, click on the Report field drop-down menu
2. From this menu, select Transactions
3. Under the Display section header, click in the Columns box
4. Make sure to include Date, Amount, Name Parts, and Reportable Address columns. These columns will help with matching the contributions to their refunds later.
5. Click on the Generate button
6. Click on the white Print | Export button
7. Export to Excel
You can use this generated list to work from and figure out the refund amount needed.
Second, select the Quick Import format for Other Transactions.
1. From the Dashboard, navigate to Tools and then Quick Imports
2. On the Quick Import page, click on the Format field drop-down menu
3. From this menu, select Other Transactions
4. Scroll to the bottom-right of the screen and click on Download Template
Third, copy and paste your data into the Other Transactions template. You can add a compliance note as well, which may be required. Make sure to indicate “Check” in the Transaction Method column of the template. This should bring all of the Refunded Contributions back in as checks, and thus, they can be printed as checks.
Fourth,
1. From the Dashboard, navigate to Tools and then Quick Imports
2. On the Quick Import page, click on the Format field drop-down menu
3. From this menu, select Other Transactions
4. Click on the Transaction Type drop-down menu
5. From this menu, select Refunded Contribution
6. Select your File (i.e., your completed Other Transactions template)
7. Click on the Upload File button
This will create the Refunded Contributions in bulk. However, the refunded contributions will not be linked to the originals, which should be acceptable in most situations.


